Need to make a change to more than one of your contacts at a time? By multi-selecting contacts, you can change multiple contacts at once.
Skip to:
Contact search
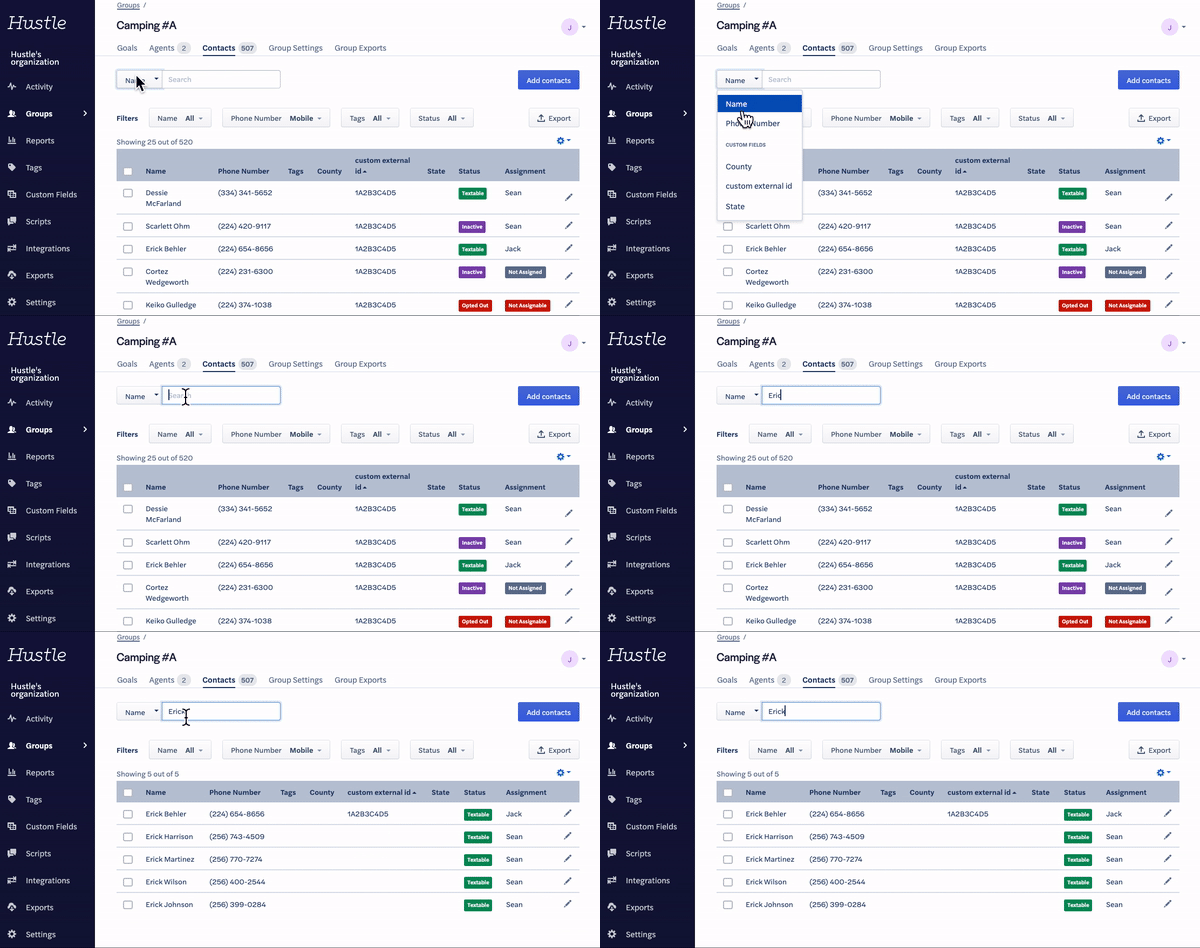
You can search your contact list based on name, phone number, or custom field values to find specific contacts. You can also search for contacts with multiple variables by separating variables by commas.
Note: When searching for contacts using multiple variables, commas will act as an or and not as an and.
You can filter your contacts based on the following variables in Hustle’s Admin Panel:
- Name: Filter contacts by those with names and those without.
- Phone Number: Filter contacts by mobile and non-mobile numbers.
- Tags: Filter contacts by applied tags.
- Status: Filter active, inactive, and opted-out contacts.
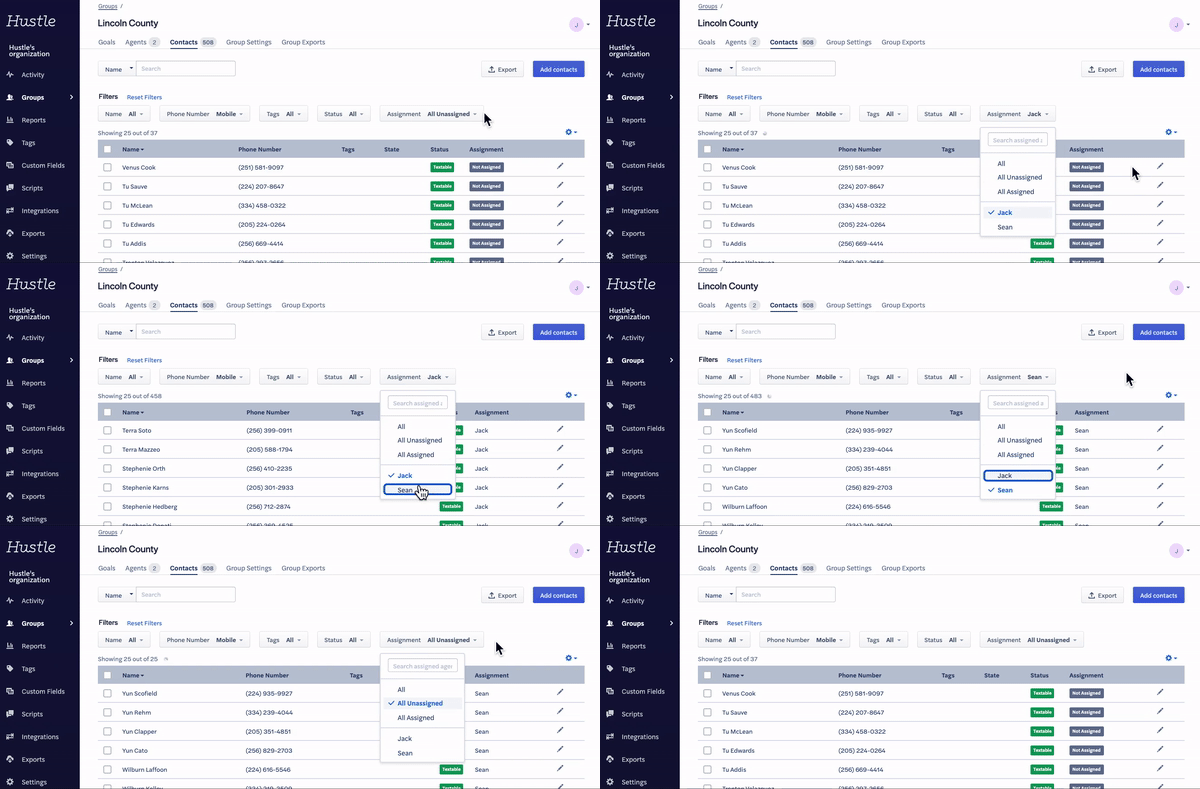
- Assignment: Filter contacts by the agents they're assigned to and assignment status.

Mobile vs. Non-mobile numbers
You can also filter which numbers are mobile numbers and which numbers are non-mobile numbers.
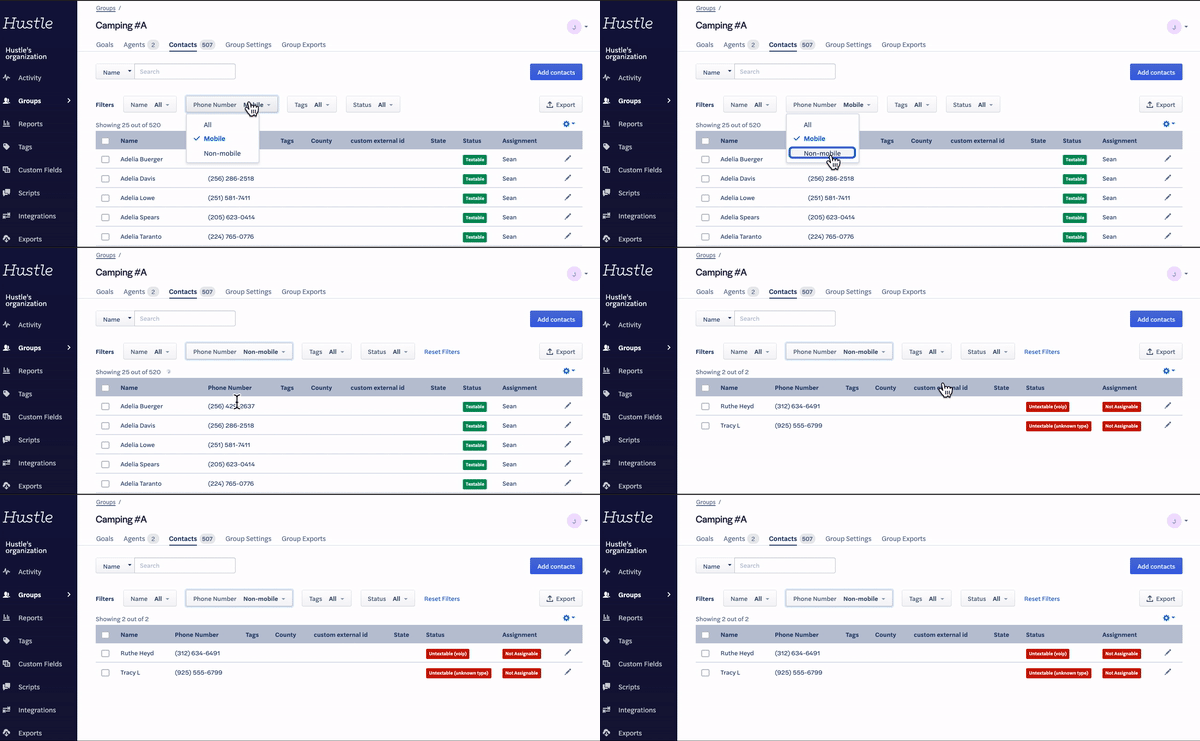
To filter your contacts by phone number type, click the Phone Number drop down at the top of the filter heading and choose Mobile or Non-Mobile. This lets you see which numbers are mobile/cell phones or landlines/VoIP numbers.
Multi-select edit
Once you’ve narrowed down your search, you can select multiple contacts to complete the same action in bulk. This allows you to deactivate, reactivate, tag, unassign, and opt-out your selected contacts all at once. (You may need to refresh the page to see your changes made.)
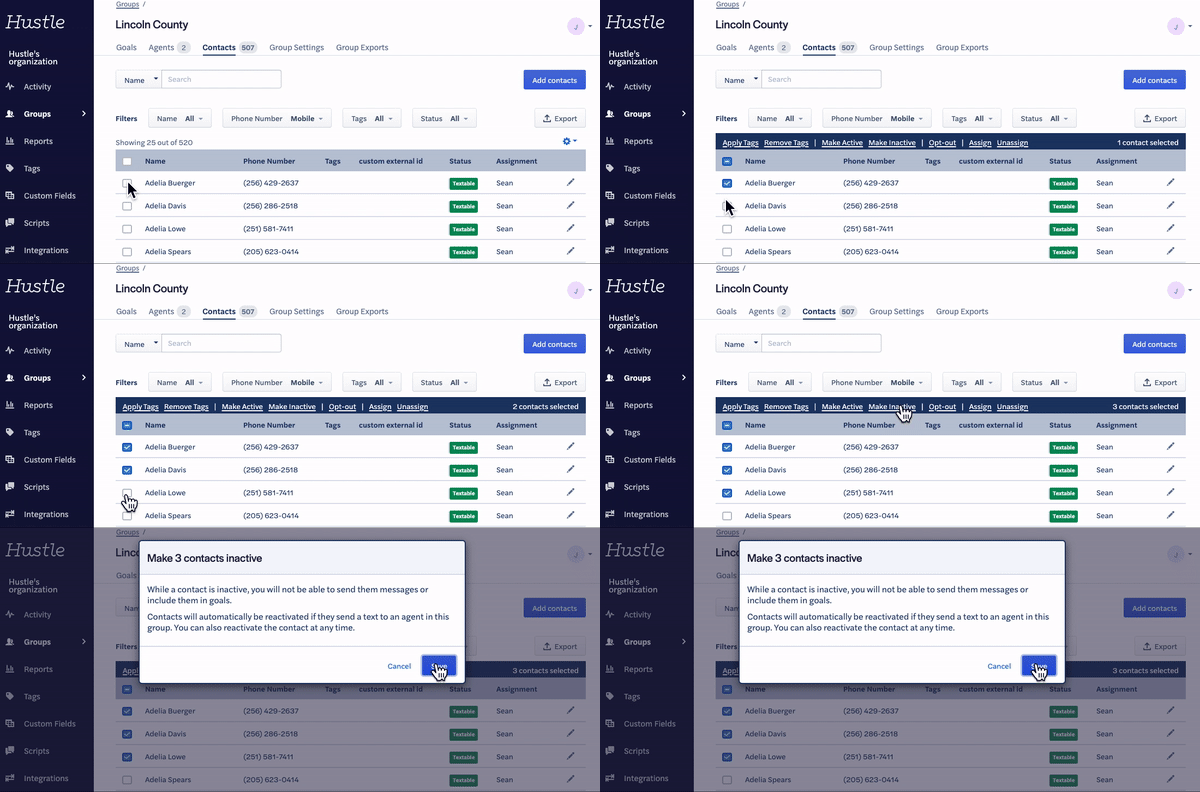
To make edits to the entire list, click the checkbox at the top of the list next to Name to select up to 50 Contacts at once. You can also select the entire list.
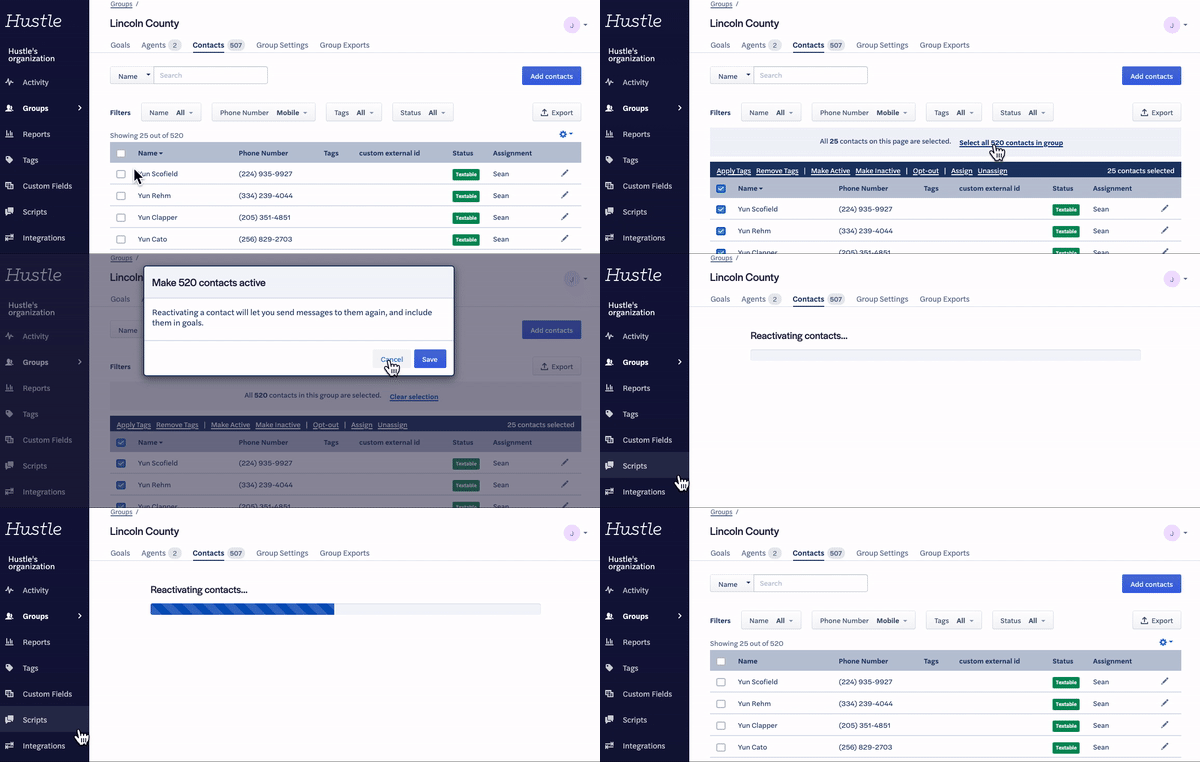
Note: Unless Select All Contacts in the Group is checked, only the contacts the current page will be selected.
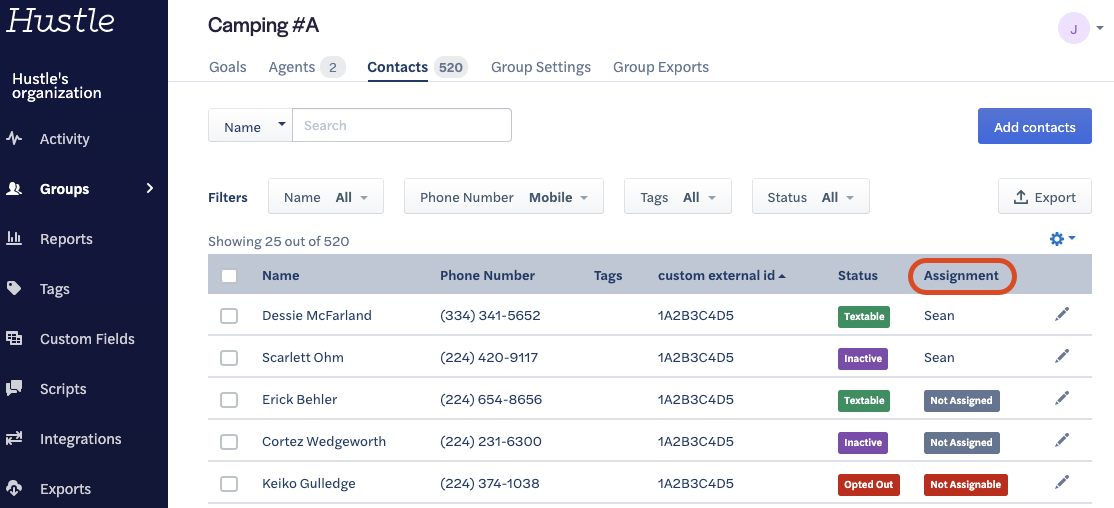
Once the changes have been made, you’ll see this change on the right side of the screen.
- Opted Out Contacts will have a red Opted Out status
- Inactive Contacts will have a purple Inactive status
- Active Contacts will have a green Active status; if the contact has been assigned, then the name of the assigned agent will appear here.

If the contact has been assigned, then the name of the agent the contact has been assigned to will appear under the Assignment column:
How do I customize the contacts tab?
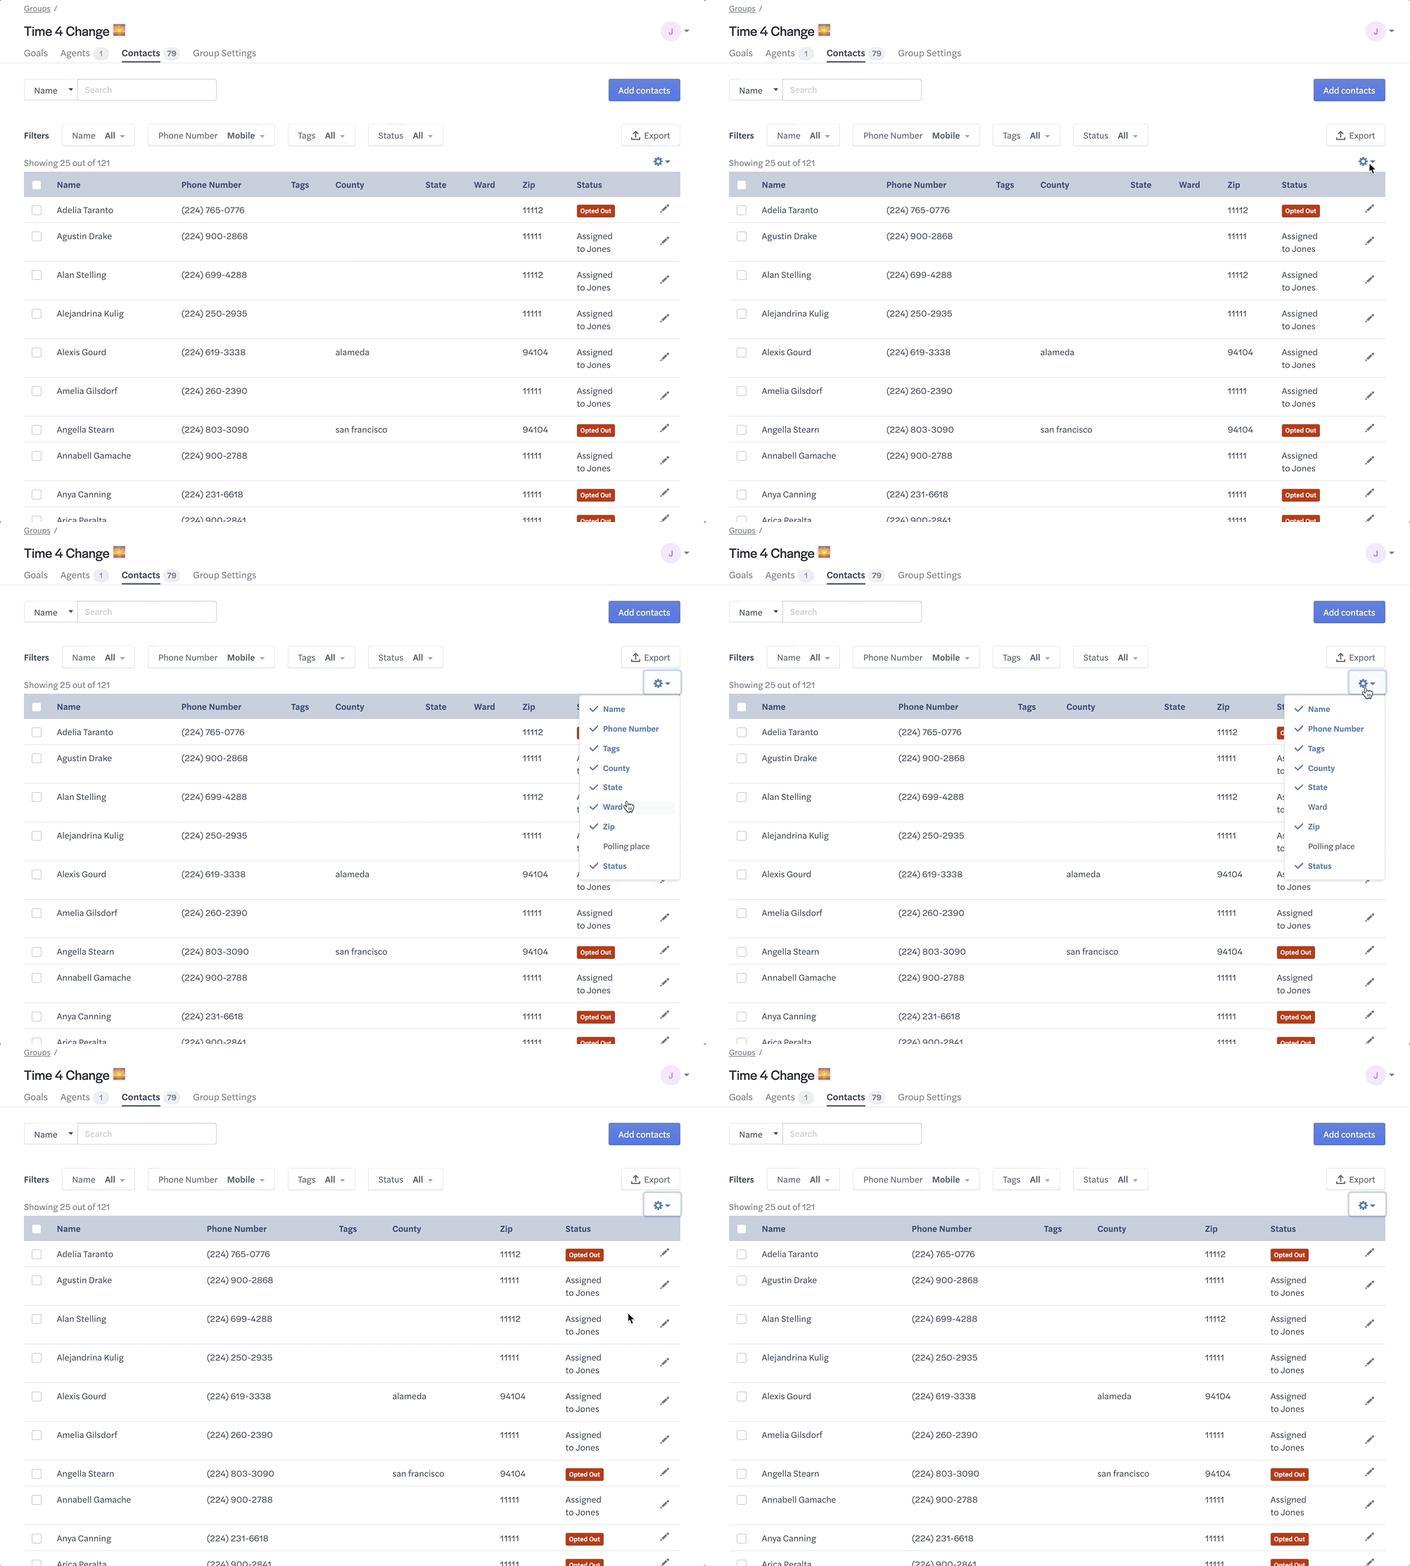
To choose which columns are displayed in the Contacts tab, click the gear on the right of the screen.
